.png)

.png)


Thursday, October 27, 2022
-
5
min
Setting up an Expo project with ThreeJS JavaScript library

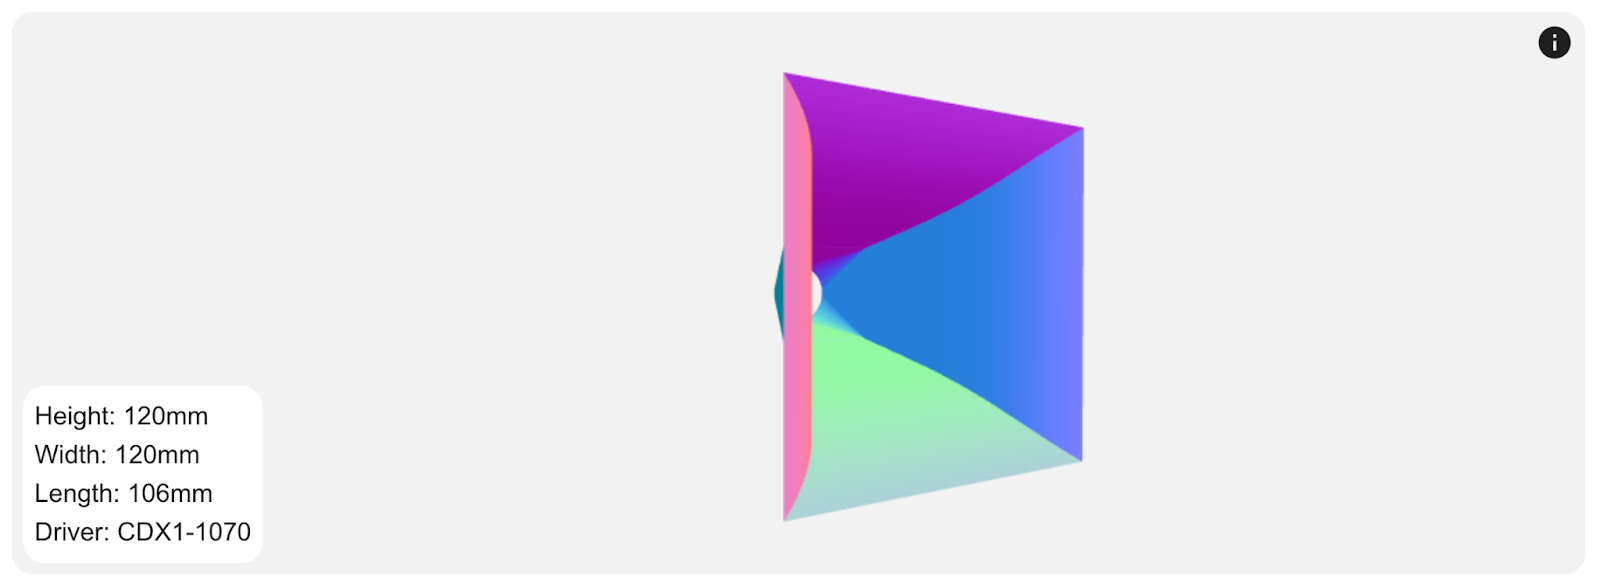
In 2020 we built a PWA for Celestion - a loudspeaker company. HornWizard was intended to help reel in potential clients and show Celesion’s expertise in action.
The app allows you to easily design your loudspeaker according to your needs, which Celestion can manufacture. HornWizard has been a success and had excellent customer feedback.
The main element - the 3D speaker - was built using ThreeJS.
In this blog, our senior developer Costas walks you through a step-by-step tutorial on how to set up a ThreeJS project with interactive objects.
ThreeJS is an 'imperative' library, with most examples focusing on the web platform. But here, we use it with Expo, both in Web and Native environments.
We also use the react-three-fiber library, allowing usage of ThreeJS library in React (declarative) way, plus providing extra help.
Our project setup here is based on Typescript.
Note: Imperative programming: telling the ‘machine’ how to do something, and what you want to happen will happen. Declarative programming: telling the ‘machine’ what you would like to happen and letting the computer figure out how to do it.
Read: "Add shapes and textures to 3D animations with React, Expo and ThreeJS.'
A quick introduction to ThreeJS
Before jumping into Expo, let's briefly introduce the basic concepts of ThreeJS.
If you’d like a more detailed introduction to ThreeJS see ThreeJS Documentation.
Note: This is not a fully working example. It's just to explain the concepts quickly. We'll build a working example in Expo later.
Creating a ThreeJS Scene
Everything in ThreeJS happens within a Scene. A Scene is our world that contains everything.
Our world has a global 3D coordinate system of [x,y,z].
Adding a Camera
To have visibility within this world, we need at least one camera.
In the above example, we set up:
- A Perspective Camera with a Field of View of 75 deg (how wide the camera view is)
- A specific Aspect Ratio (window width/height),
- Near (0.1) and Far (1000) clipping planes (objects not contained within those will not be visible)
- The camera is positioned on [0,0,0] by default.
Note: There are two types of cameras in ThreeJS: Perspective (better suited for 3D graphics) and Orthographic (better suited for 2D graphics or non-perspective 3D views). See the example here.
Creating a ThreeJS Renderer object
For all these to be visible on screen, we need a renderer. A renderer will take the Scene and Camera as input and calculate the 2D image that needs to be painted on canvas.
The code above:
- Creates a renderer instance
- Sets its size (full page)
- Adds the renderer's Canvas element to the HTML page.
But we're not done yet! We need to tell the browser when to update the canvas. For a scene that constantly animates, we must keep re-painting the canvas.
So we set up a function that re-calls itself on each animationFrame and re-paints the canvas, plus making any changes to the world for the next re-paint
Creating visible objects in ThreeJS
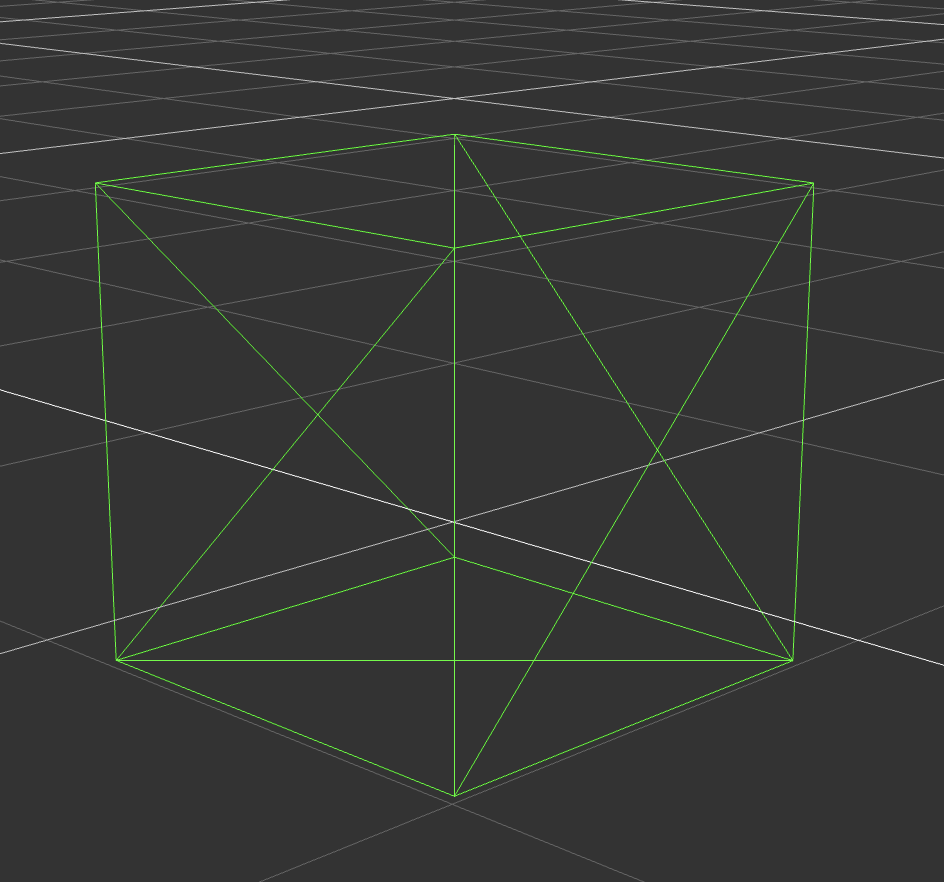
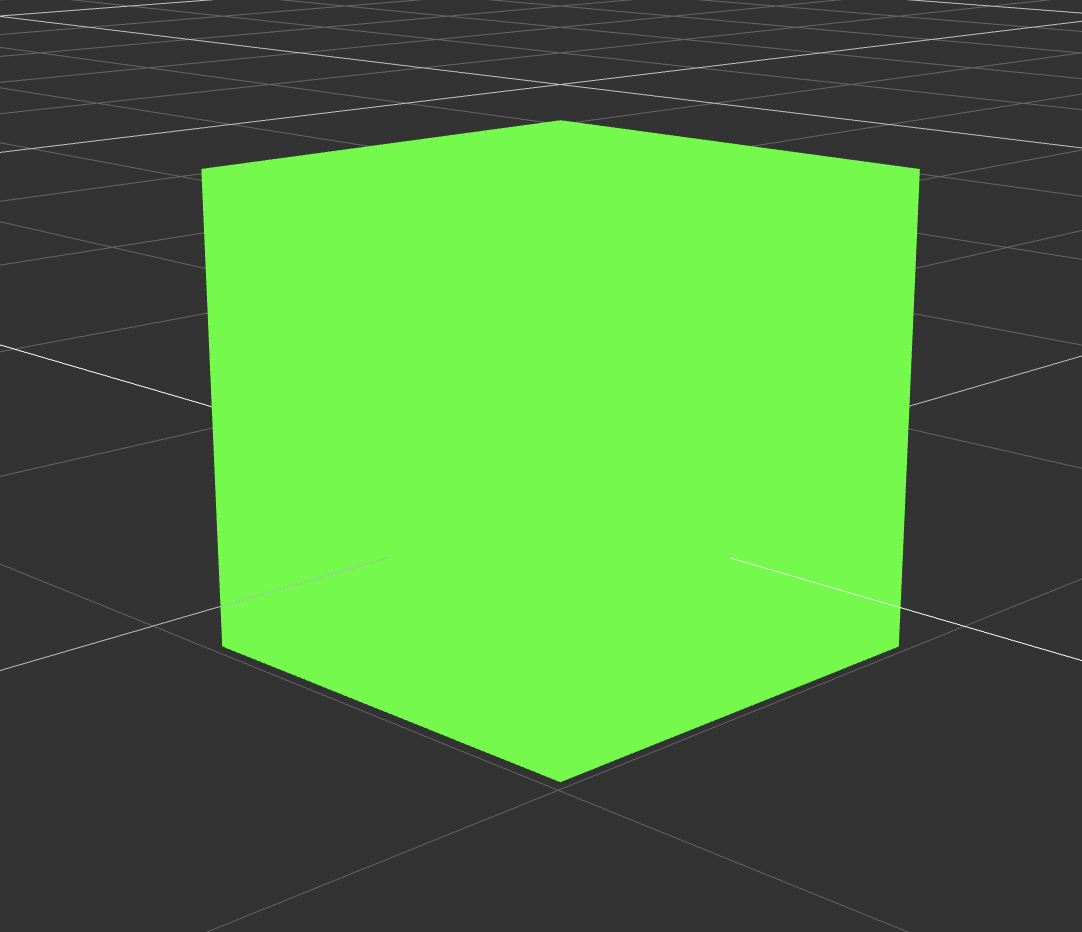
We have created an empty world. Let's add a cube to it.
In ThreeJS, visible objects are Mesh objects. And a Mesh is defined by its Geometry and Material.
So the code above:
- Creates a BoxGeometry describing the object's shape. It's a box of size x=1, y=1, z=1.
- Creates a BasicMaterial of green colour. BasicMaterial does not interact with light (no shades, no light-source distance, etc.). It always displays a flat colour or bitmap.
- Creates a Mesh assigned with the geometry and material.
- Adds the object to the Scene.
That's it. This is the base concept of ThreeJS. But there are many other things you'll have to get familiar with to master 3D. Refer to ThreeJS Documentation.
Setting up an Expo Project with ThreeJS support
Let's start setting up an Expo project and adding ThreeJS to it.
Create a typescript project
and choose Blank (Typescript)
Add support for web to the project
Add three and @react-three/fiber plus Typescript support.
To support native apps, add expo-gl.
That's it. The project should be able to compile and run with no issues.

Setting up a base ThreeJS Scene
Now, let's set up our base Scene where everything will happen.
Change the default App.tsx as follows:
What we did above:
- Setup a Canvas component
- Render two custom Box components (not ready yet) inside it.
The Canvas element from @react-three/fiber is an excellent component that takes care of ThreeJS boilerplate tasks like setup renderer, camera, etc.
By default, it creates a full-page Canvas and a Scene with a PerspectiveCamera.
Adding Boxes to our ThreeJS Scene
The code above expects a Box element that accepts a world position parameter. Let's add it:
The code should be able to run now and display our two cubes.

What we did:
- Created a Box component that accepts position [x,y,z] property.
- Renders a mesh component with boxGeometry and meshBasicMaterial.
Some things to take notice of here:
We did not need to import mesh, boxGeometry, meshBasicMaterial from anywhere. This is the magic of @react-three/fiber: it automatically adds TheeJS classes as components in the global namespace. So (almost) anything that you see in ThreeJS documentation as a class can be used automatically as a component. Class constructor arguments are passed as args={} property to the component.
Also, we did bind the boxGeometry and meshBasicMaterial to the mesh component. But we did not pass them as props to mesh. We added them as child components. This is the way @react-three/fiber works.
For more details, see @react-three/fiber documentation.
Interacting with our ThreeJS objects
@react-three/fiber offers some out-of-the-box interaction events for our meshes.
Let's make the boxes interactive. When we click on a box, it changes colour and grows. When clicked again, it shrinks back to its original size.

Update the Box component as follows:
What did we do above? Not rocket science.
We added a clicked state in each box.
We update the state by interacting with onClick events on the mesh component.
We update the scale property (a ThreeJS mesh property) based on our clicked state.
Again, this is @react-three/fiber magic, which allows interaction events like click and hover on meshes hiding out the complexities of ThreeJS.
Our next blog post will discuss how to create 3D animations in React and React Native.
If you'd like to see more dev blogs like this, sign up for our monthly newsletter 'Defining the Morrow'.